The Legend of Zelda Cold Run: Session 5
Wherein I ponder the 8-bit sublime and disturb the dead
I am nearing the completion of my hand-drawn map, so I decide to venture out and fill in my missing blanks, in hopes that I might accumulate some rubies and pick up a few hints along the way. This means heading toward the northeast and northwest regions of Hyrule, where bleak mountains and dangerous Lynels abide.
I’m now thankful I decided to draw a map, because the mountains are difficult to navigate. Split paths, multiple ladders, dead ends, falling rocks, and identical terrain patterns abound. I believe the labyrinthine structure is by design. The winding paths and deadly enemies indicate that the mountains are the end game—do not tread here until you are strong enough to survive.
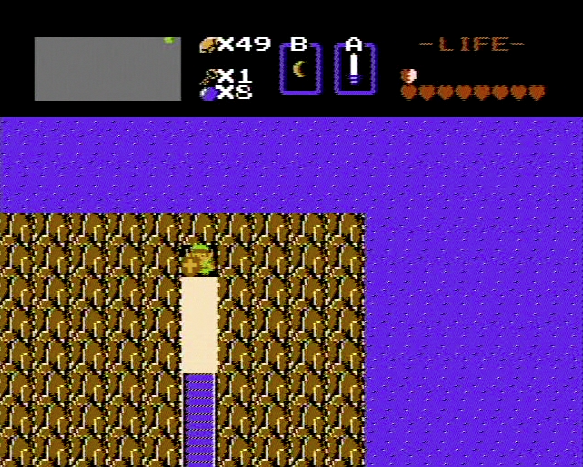
I find two notable locations in the northeast region: first, there is a ladder leading to the mountain’s apex, edged by the ocean on two sides, with a narrow path leading to a cave. Within, an old man tells me to take his letter to the little old lady.
There is something sublime about this location; it is the literal edge of Link’s known world. As I’ve compiled my own map, I’ve marveled at the coherence of the landscape. The lakes near the map’s center sprout tributaries leading north to a solitary mountain pool and south to unknown waters. The mountains stretch northward and condense in the west; the forests nearby are deadened, as if the evil permeating from the dungeons beneath the rocks is slowly choking their life away. Further east, the trees and hillsides are verdant green, divorced from the creeping plague by arid deserts and the slender cut of water. The far eastern shore traces a sea that stretches past my map’s reach.

You begin to ponder the territory beyond. This cannot be the entirety of Hyrule. The only living things that venture overland are malign monsters. The sole remnants of humanity are tucked into underground caverns. Something catastrophic has happened here. But you don’t need the manual to tell you this story—the world speaks it.
The second notable location is one I cannot seem to reach. The upper-rightmost screen is apparently inaccessible. According to my map, it is bordered on its western edge by water and on its southern edge by the rock wall of a small peninsula. According to the wonderful sculpted map model from the instruction booklet, the screen appears to be filled with water, but I have no means to verify that assumption. There is no technical reason its omission would be necessary. The Zelda cartridge had plenty of leftover space. What is this undefined region? It may be that I’m simply missing a new means of travel—an unknown item, perhaps?
My travels lead me westward again, toward the forest, where I’m seeking out the old woman to whom I will deliver the letter. I misremember her location and end up in the lower-leftmost corner of the map. The old woman inside does not request a letter, but requires money for information. After overspending on my first go, she reveals the secret to the forest loop: ‘north, west, south, west.’ Excellent.
I find the correct cave and deliver the letter. The old woman offers blue and red potion for sale, but since her prior doppelgänger ripped me off, I can no longer afford either. I mark the location for future reference.
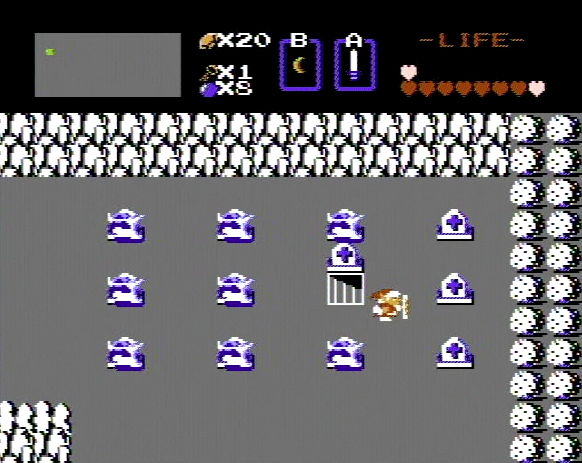
The lost woods beckon, so I use my newfound knowledge to escape its puzzle and end up along the western edge of the map. Once I push north, I come across a peculiar area: six screens, edged in white rock, patterned with twelve identical gravestones apiece, all set against a dour grey backdrop. What is this mass gravesite? And whose are the ghosts I stir when I brush against the headstones? Are these the casualties of Ganon’s reign? I am unsure if the game ever reveals this location’s backstory, but it serves as a stark memento mori set within the forests and mountains.
While exploring the upper right section of the cemetery, I luck into a clock. With time suspended, I’m able to bump each grave and keep the ghosts in stasis. My luck continues as I notice one grave produces no ghost as I shove it from below. Instead, the grave slides aside to reveal a staircase.

Inside, an old man offers a new sword—but I am unable to take it. He provides no other clue than to ‘master using it,’ so I assume I have to return at a higher ‘level,’ i.e., with more Triforce pieces.
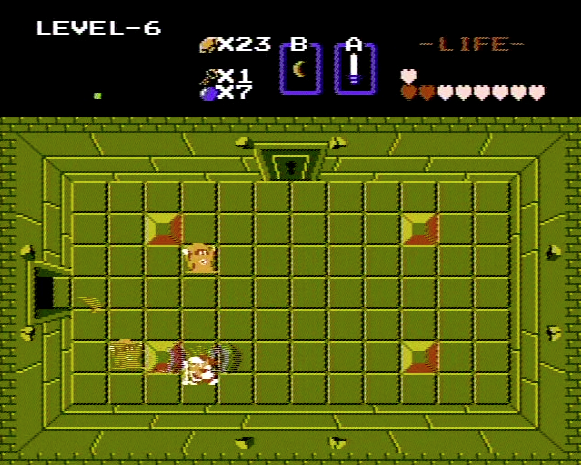
For the next few minutes, I obsessively check every remaining gravestone for secrets. No luck. OCD satisfied, I head east to the only unexplored exit. The familiar mountains scroll into view. Multiple Lynels block further progress east, so I opt for a ladder stretching north. Ah, another dungeon entrance! I immediately descend and check the level display. ‘LEVEL-6.’ Hmm, I appear to have skipped a location. I decide to throw caution to the wind and check its contents.
The first room unfortunately continues the darkness theme of the previous dungeon. I light my candle and spy two new enemies, the orange-robed Wizzrobes. The manual warns that they are ‘pretty strong.’ No doubt. I absorb a spell with my shield but nonetheless drop four hearts. Their pattern isn’t too difficult to discern, but I learn quickly not to stand in their immediate spell path.

I survive the room, but not many more. I discover that there are blue versions of the Wizzrobes that move much more erratically, gliding about the room as they cast their projectiles. A few rooms later, I face multiple orange and blue Wizzrobes, Like Likes, and the irksome Bubble. After a few narrow dodges, I collide with a spell and die. This is the game’s subtle suggestion that I return here later, when I’m more powerful.
STATS
Death count: 2
Triforce count: 4
Session time: 00:30
Total play time: 02:13