The Legend of Zelda Cold Run: Session 9
Wherein I succumb to temptation and consult the NES Atlas
I admit that I cheated.
The whole purpose of the Cold Run Experiment (TM) is to play Zelda ‘cold,’ i.e., with no assistance from FAQs, walkthroughs, online guides, etc. I’ve adhered to this rule as best as possible—years of videogame study have sullied many of the game’s secrets—but Level-6 BROKE ME, people. I was dying so consistently that I decided to consult a guide to make sure I hadn’t missed a crucial item.
But take heart! Though I broke my self-imposed rule, I chose a source that remains within the spirit of the series, a source that I actually owned (and still own) when it was first published in 1991: the NES Game Atlas.
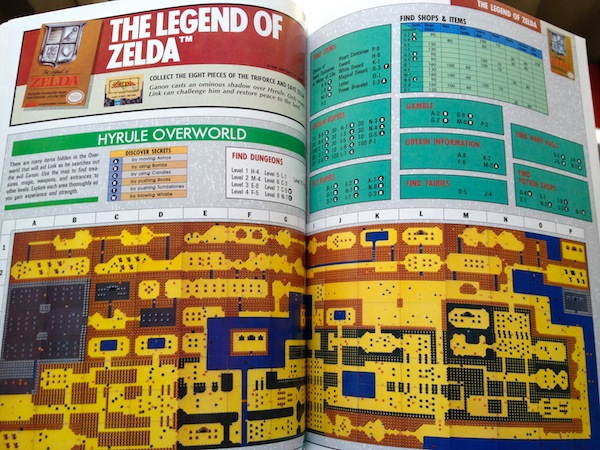
Hyrule exposed
The Atlas contains the complete overworld map, full dungeons layouts, item locations, shop contents, and so on. Much to my chagrin, there were no usable strategies for Level-6, beyond this small text blurb: ‘This is the toughest level yet. Wizzrobes and Like Likes are tough individually; combined, they’re next to impossible. Keep moving! Beat the Wizzrobes first, then concentrate on the slower-moving Like Likes.’ No kidding. So it turns out my Level-6 failures were solely attributable to my poor playing. At least the Atlas confirmed the dungeon’s difficulty—which I would argue is likely the second toughest in the game. Maybe that knowledge gave me the fortitude to get through it.
What was helpful was the list of items, locations, and heart containers I’d missed. I also noticed that there is, in fact, a screen in the upper northeast corner—the sole unfilled rectangle on my own map. Sadly, there is no indication of how to get there, simply a screenshot of a ladder that apparently connects to solid rock below. I return to the screen directly south of my missing rectangle to investigate. No items appear to work. Candles, bombs, whistle—no dice. By chance, I happen to push against the upper boundary and, lo and behold, the hidden screen slides into place.
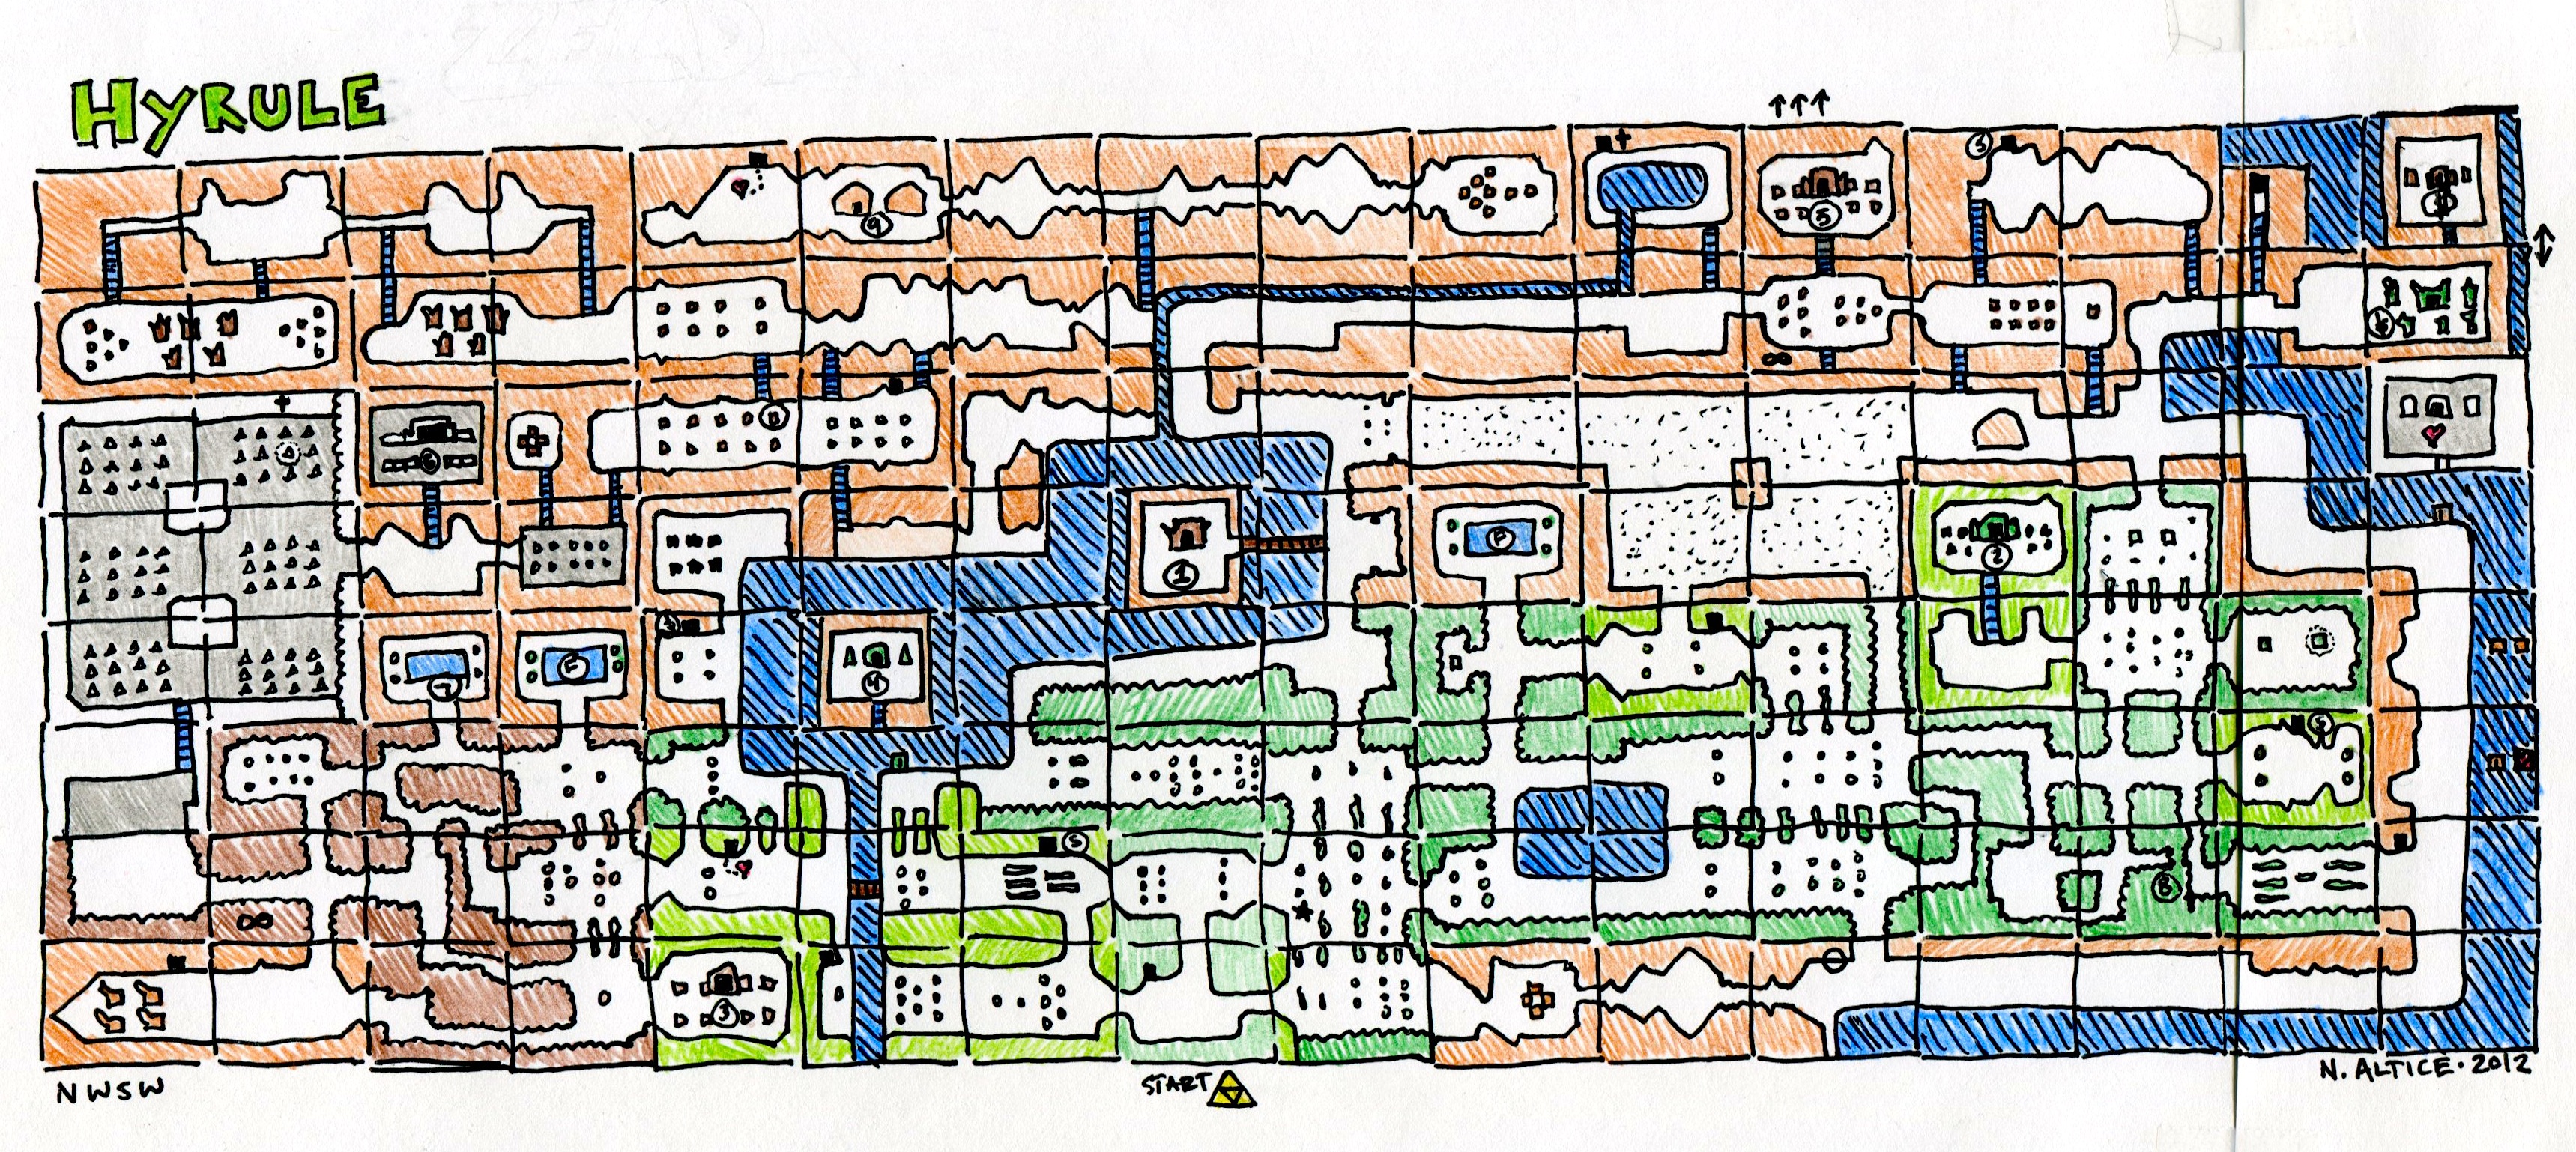
My finished Hyrule map (click for giant size)
Though I am happy to finally find the hidden screen, the need to walk through the wall feels arbitrary. Up to this point, most of Zelda’s secrets are revealed naturally through gameplay. Chance may govern a few tactics—you might have to, for example, accidentally lay a bomb close to a wall to discover its passage-clearing properties—but I have seen no clues indicating the possibility to push through a solid surface, nor has this technique been necessary in any previous area/dungeon. (Perhaps I simply missed the other ones, but how would I know if I had?) The invisible walkway might have worked better if it was possible for the Peahats to knock you into it, but that would still require a slim margin of chance. Better yet, it would’ve been nice if the whistle took you there, perhaps after a preset number of uses.
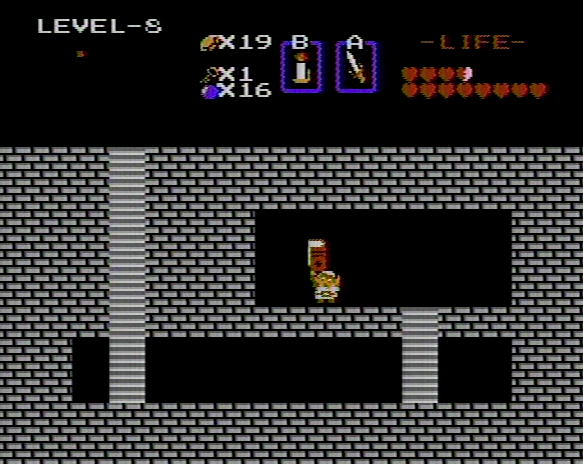
I spend the remainder of the session doing cleanup work. I note the location of the power bracelet, a few heart containers, and most importantly, Level-8’s entrance. Frankly, I’m not sure I would have ever found the latter’s hiding place. I suppose its location is somewhat auspicious, considering it lies at the intersection of multiple forest paths, but like the invisible passage, it feels a bit cheaper than the others.

A great hiding spot
Compared to finding the entrance, the dungeon inside is simple. There are two Gohmas that require multiple arrows to defeat, but they prove harmless. The catacombs yield a key with a lion’s head handle and a red book. The former eliminates the need for finding keys, which hasn’t been an issue so far, but it’s handy nonetheless. The latter item augments the wand—once its projectile hits something, whether enemy or wall, it leaves a flame in its wake. The wand’s utility is already a mystery and this garners further head-scratching. The red candle still seems more useful for my play style. The only other interesting trivia tidbit about the book is that it was called ‘Bible’ in the Japanese version. Though the name was changed for US release, neither the manual illustration nor in-game sprite was altered, so the book’s cover still bears a cross (like Link’s shield). Usually such overt religious references were scrubbed from Nintendo’s games.
The Legend of Bible Study
The final dungeon boss is another rehash of Gleeok, this time with four heads. He’s probably my favorite boss and certainly one of the most challenging. His hitbox is a little peculiar; I can’t tell if I need to hit his body directly or if striking the heads suffices. It seems that the former is true, since I have to get in dangerously close to fight him.
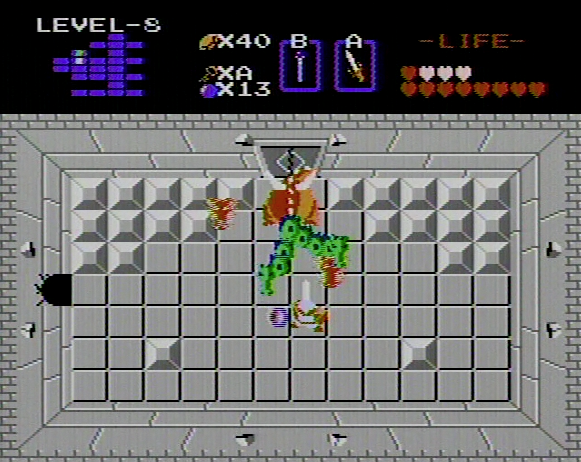
Four-headed Gleeok
At this point, though, I’m used to his patterns, so he goes down first try. The next chamber holds the last piece of the Triforce, granting Link entry to the final dungeon. Session complete!
STATS
Death count: 31
Triforce count: 8
Session time: 00:43
Total play time: 05:40