The Legend of Zelda Cold Run: Session 4
Wherein I spring traps in darkness and pursue the Hydra
Last session, I was lauding The Legend of Zelda for its smooth difficulty curve and empowering character progression. I take it all back.
I begin my session exploring the upper regions of the map. I head vaguely northwest through mountainous terrain, where Lynels appear in swarms. Despite my increased health and shield upgrade, their swords lop off hearts at a time. I die within a few screens.
I decide to tackle dungeon 4 again, now that I know the route and any dangers that await. I realize one frustration of restarting at advanced levels is that you perpetually begin with only three hearts. Miyamoto and crew have cleverly tucked life-replenishing fairies in strategic locations throughout Hyrule, but it takes time to hike to and fro prior to my dungeon crawls. Not to mention the dangers you face moving from location to location.
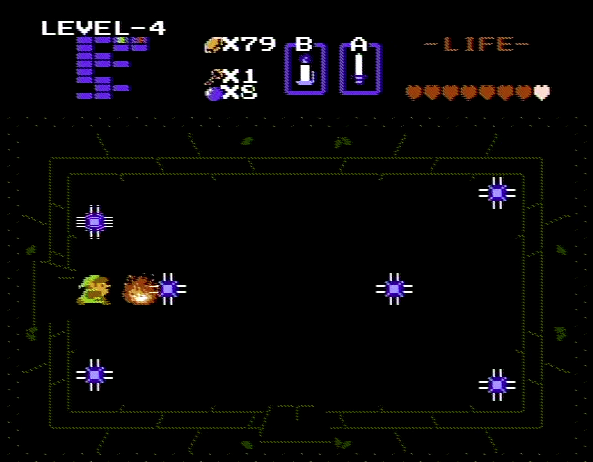
With full hearts in tow, I return to dungeon 4 and proceed toward the compass marker. The darkness is annoying enough, due to frequent item swaps, but the last few rooms before the boss are pretty rough. Combining floor traps—truly gaming’s most hated enemy besides literally everything in Ghosts ‘n’ Goblins—with pitch black terrain is a recipe for madness.

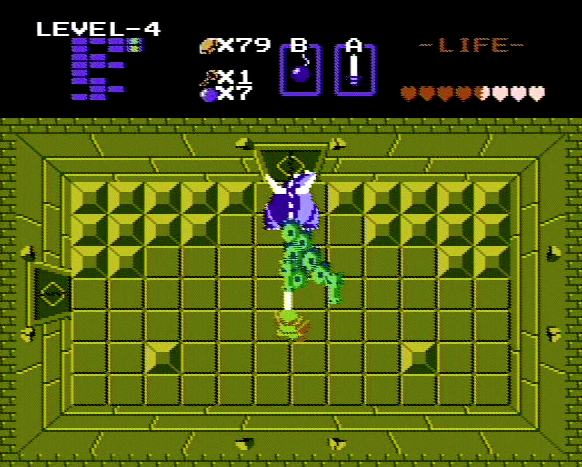
Nonetheless, I make it to Gleeok, a Hydra-esque dragon who spews projectiles and eventually detaches his own head. He is by far the best boss I’ve encountered and also the most difficult. His projectiles are erratic and deplete a heart apiece, his hit box is strange (requiring risky melee fighting), and bombs don’t appear to make much impact. Harrowingly, I manage to kill Gleeok at the exact moment that he kills me. Guess who loses in a draw?
I continue in the dungeon but quickly realize that three hearts isn’t going to cut it in Gleeok’s lair. I make the trip back to the fairy lake to refill my hearts, then return to the dungeon with no injuries. Things go well until I reach the trap room, where I manage to fumble around enough to drop three hearts. I equip the blue candle before I step into Gleeok’s room, but either my aim is poor or it has no effect. I fare worse than the first battle.

Sigh. Continue, exit dungeon, find fairy, return to dungeon. This time I manage to avoid the traps but walk into my own candle flame. Smart. Undaunted, I head to Gleeok for a third round. This time, I manage some artful dodging and defeat him with minimal damage. Triforce get!
I decide to temper my dungeon frustrations with some further exploration in the northern mountains. I reveal a few more screens of terrain but once again die at the cruel swords of the Lynel swarm. Session over.
STATS
Death count: 11
Triforce count: 4
Session time: 00:26
Total play time: 01:43