The Legend of Zelda Cold Run: Session 2
Wherein I bomb for secrets and luck into the entrance to dungeon three
I revive in the familiar starting screen and decide to head directly east. Last time, I thought I could recall the entrance to dungeon two from memory, but I got lost and killed in the forest. This time, I check the hint at the back of the manual and head towards the dungeon properly.
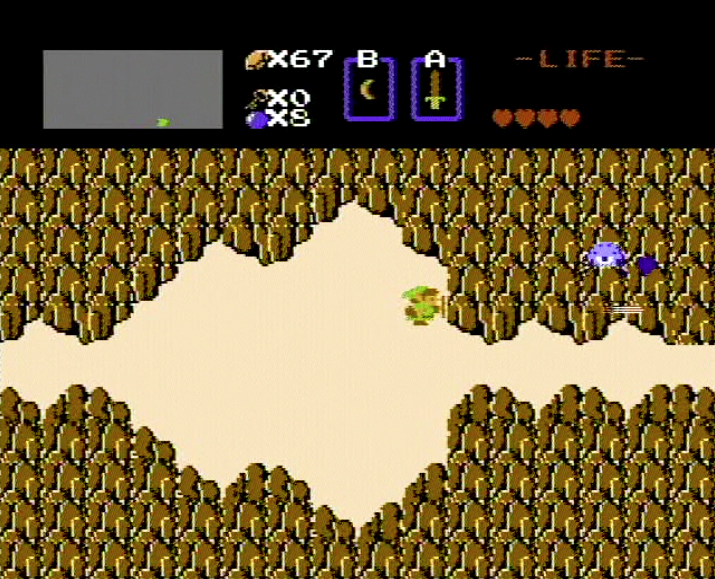
As I proceed, forest transitions abruptly to mountainsides and hopping Tektites. Two screens in, there’s a symmetrical passage that resembles a waveform. Likely a coincidence, but nice eye candy for digital audio aficionados.
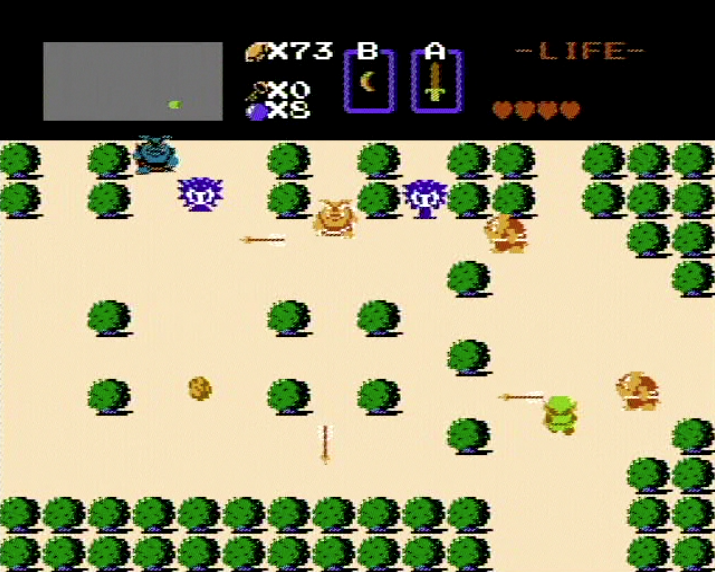
Another screen east leads to a new body of water. I decide to turn north, leading once again to the maze-like forest. Here, Octoroks and Molblins show up simultaneously. With six enemies, multiple projectiles, and Link on screen, the engine suffers from noticeable slowdown, including the audio. I haven’t delved into the engine’s object handling, but it likely takes more than a frame to process eleven independent metasprites travelling along their own trajectories and checking for collisions. For the NES’s lowly 6502 processor, this is quite a bit of heavy lifting.
Once I head northeast for a few more screens, I realize I had nearly stumbled upon the second dungeon in my previous failed attempt. Once I hit the blue ladder lodged in the green mountainside, I know I am only one screen south from the dungeon entrance. I head north and trek below.
The second dungeon introduces new enemies. Ropes are one of my favorite types. They move exclusively along the x- or y-axis, but if you cross their path, they speed up and head directly for you. Unfortunately, their sprites are a little silly. Besides their oversized heads, the designers decided not to expend the necessary sprites to draw them from all sides, so they glide along in profile whether they’re moving vertically or horizontally. In fact, there’s a notable inconsistency in the enemy sprite design throughout the game. Many sprites, like Rope or the Stalfos, remain in a fixed position as they move. Others, like the boomerang-wielding Goriyas, are drawn from multiple angles. In Super Mario Bros., the frequent sprite mirroring, flipping, and palette swapping was a memory constraint. Everything had to be squeezed into 40KB of cartridge ROM. Zelda was made for the more spacious Famicom Disk System, whose ‘disk cards’ could hold roughly 64KB per side (with some caveats). Clearly, Zelda has far more enemy types and scenery changes than Mario, but there’s no apparent memory limitation for the inconsistent sprite work. There’s plenty of leftover bytes in the disk version. The worldwide cartridge version (which I’m playing) has even more wasted space. It is unclear why Miyamoto and his team did not extend their sprite animations–my guess is a time deadline.
The Ropes provide a new challenge, but I fare well for several rooms. Eventually I find myself mixed up in a devilish combination: two blue Goriyas and four statues in the corner of the room firing missiles. The barrage is too much and I earn death number three.
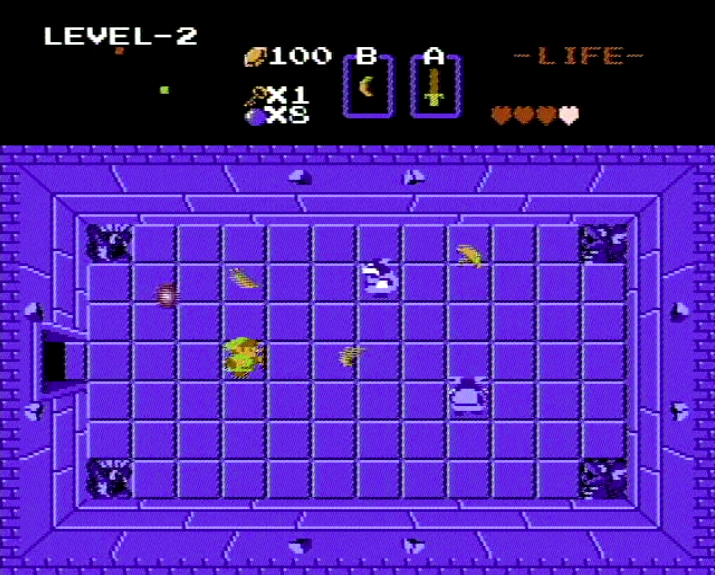
With a fresh CONTINUE, I begin once more at the dungeon entrance. I check my map and notice that there is a prominent room-sized gap between my death room and an apparent dead end two screens below. The manual has reminded me that such gaps often indicate hidden rooms, so I head in that direction equipped with bombs. Sure enough, the upper wall dissolves from the force of my bomb’s explosion. The hidden room yields a map, revealing the dungeon’s full ‘moon’ pattern.
The remainder of the dungeon is straightforward. I move steadily toward the upper left room, where my compass indicates the boss is hidden. Along the way, I find the old man, who tells me that ‘DODONGO DISLIKES SMOKE.’ Fair enough, but who is Dodongo and where can I find cigarettes? Once again, I’m spoiled by experience. I know the final boss, a giant rhinoceros called Dodongo, can only be defeated by feeding it bombs. The ‘smoke’ describes either the bomb’s fuse or its cloudy remainder, filtered through a poor translation. I spend five of my eight bombs trying to land them in Dodongo’s path, which is surprisingly tough to do. Thankfully, Dodongo does little besides wander around the room. The designers made a smart decision to leave the boss room door open, in case the player depletes their bomb stores. You can imagine lesser games leaving players stranded in a locked room without the proper ammunition.
With heart number five and Triforce number two in hand, I exit the dungeon. I have now reached the limit of my Zelda overworld knowledge. I have no clear ideas where the remaining dungeons are, so I set out exploring. West seems sensible.
I trudge back through the forests and end up near my starting position. I see a small cave in the green mountainside, so I enter and find my first shop. Since I’m now dripping with rubies and tired of taking abuse, I opt for the larger shield, leaving me with just four remaining shiny coins. I have no idea how the shield affects Link’s defenses, but its sprite is certainly larger. Perhaps I can deflect other projectiles now?
I cross a river and decide to bank north. I hit a new lake and follow it to a dead end, finding two new caves in the process: a shop and a mute witch. One of the moving statues on the dead end screen reveals a staircase leading to yet another shop. Hmm. No sign of dungeon three.
Further western wandering plunges me into another forest, this time tinted brown. I push through to no avail, eventually stumbling into the Lost Woods. I don’t know the proper exit pattern, so I loop around and continue west until I reach a dead end at the extreme edge of the map. A cave sparks some hope, but I find a demanding crone inside who wants money for information. I pay the lowest amount and receive nothing in return. I sling a boomerang in her direction, but it passes harmlessly through her. Next time…
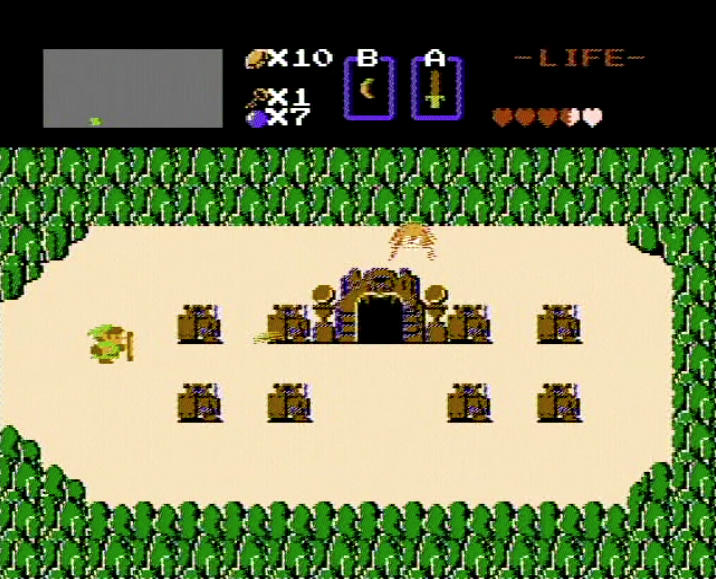
With little recourse, I return east in hopes of reorienting at the starting screen. Lo and behold, four screens later, I transition to another green mountainside and a dungeon entrance. Level three!
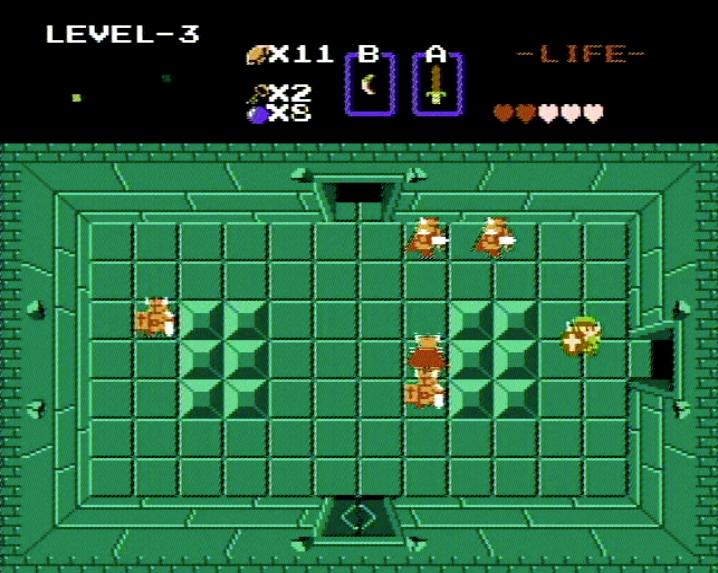
The green interior offers new foes, including Zols, giant blobs that spawn smaller Hershey Kiss blobs called Gels. A few screens in, I run into a room of Darknuts, shielded knights who only take damage when hit from behind. In an open space, they’re no trouble, but two screens later, I’m trapped in a room with two large blocks and five Darknuts. Death number four and end of session 2.
STATS
Death count: 4
Triforce count: 2
Session time: 00:25
Total play time: 00:40