The Legend of Zelda Cold Run: Session 1
Wherein i die in the first dungeon and get lost in the forest
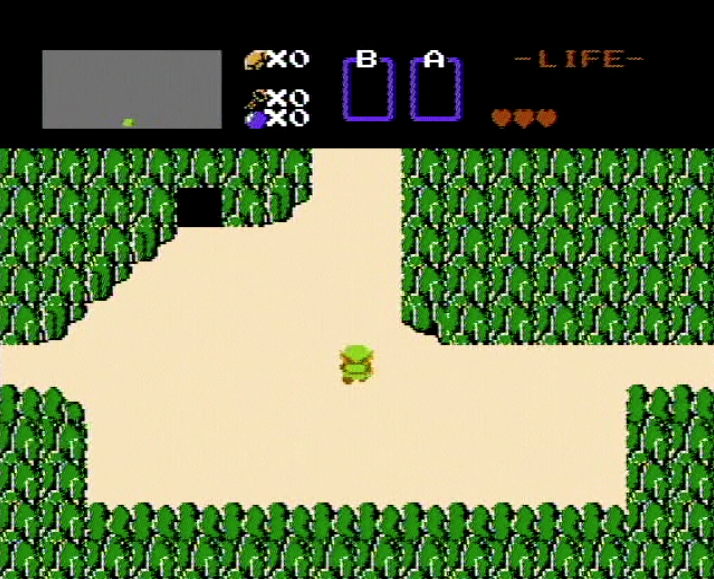
The Legend of Zelda’s opening gameplay screen is iconic. Link, viewed from a skewed overhead perspective, faces away from the player with four possible path options: north, east, west, and a small cave puncturing the rock face.

Compare this screen with the opening of Super Mario Bros., a game developed by the same team at the same time as Zelda. Mario is positioned just beyond the left screen edge, facing right. A long stretch of unimpeded runway extends to the right edge of the screen, set against a vibrant blue sky. Naturally, the player’s compulsion is to go right–a compulsion that will carry the player through the entire game.
What does Link’s position communicate? Choice. There are no signposts directing the player toward the ‘correct’ path. I’m sure many players who skipped or overlooked the cave took a while to figure out they were supposed to have a sword. (Some players have made swordless play a viable option.) That’s a remarkable bit of trust in the game’s design, a confidence that even Nintendo fails to reproduce in their modern versions of NES games. You can hear the focus groups now: ‘But how will the player know how to get the sword without a pop-up dialogue box? They might miss it and not have fun.’
The opening hub area in Dark Souls has the same structure. Multiple paths radiate from the Firelink Shrine, one of which is manageable at low levels; the others, less so. The player learns through exploration, not through pop-up text. What was once called level design is now known as hardcore difficulty.
My choice of paths is limited by experience. I know to get the sword in the cave, so I do so. I also know the path to the first dungeon by heart. And ‘by heart’ is the appropriate expression, because the island entrance is located almost directly in the center of the overworld map. This is another example of careful design. Link is dropped near the lower center region of the overworld. What’s a lost explorer’s first instinct? Head toward the center of the map!
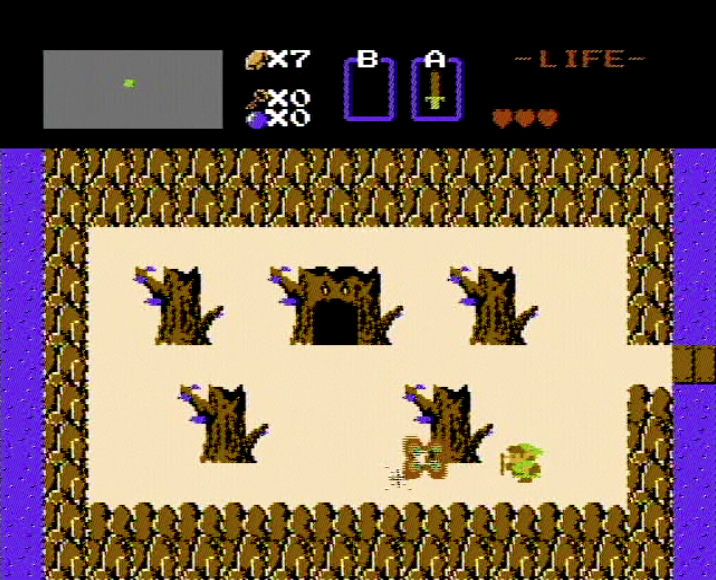
I do so, heading toward the first dungeon. There are several feasible routes, but I take the shortest path: north, east, north three more screens, then cross the bridge west to the hollowed tree stump that leads below.

Zelda is much harder than I remember. Octoroks move in rapid, erratic patterns, Leevers tend to emerge directly beneath your feet, and Zola has some preternatural ability to hurl missiles directly where I intend to be. But Link’s ability to fling his sword across the screen is awesome–so much so that taking a hit and resorting to close-range melee changes the balance of combat completely. Closing in on opponents makes you more susceptible to colliding with their jittery movement patterns. And when enemies surround you en masse, your life can drain quickly.
I descend into the first dungeon, then quickly exit and re-enter. This is another trick I remember from strategy guides–the quick turnaround triggers a bug that automatically unlocks the first keyed entry. It’s not necessary, since the first dungeon provides ample keys, but WHY NOT, right? I need ALL the keys.
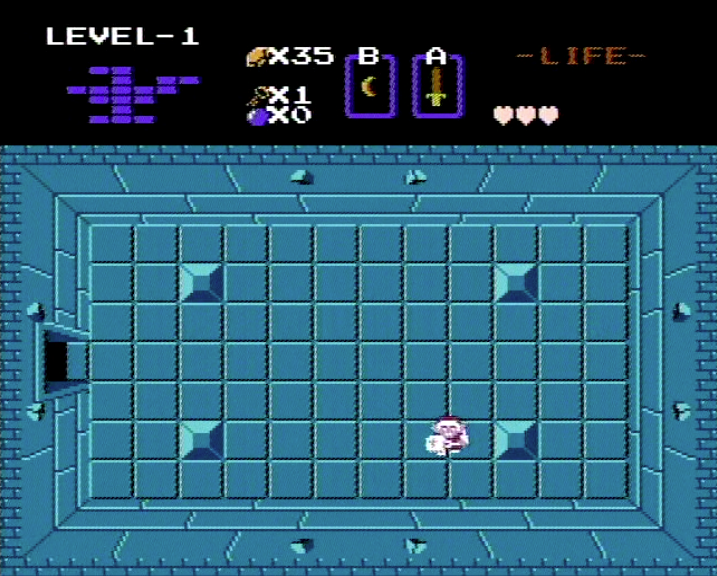
I know the dungeon layout fairly well. This is the ‘eagle’ pattern, with unicorn dragon Aquamentus living in the ‘eastmost peninsula,’ as the old man tells me. My obsessive compulsive nature compels me to find the map, boomerang, bow, and compass. Due to my overambitious exploration, I end up depleting my three hearts to one. In the compass room, I’m overwhelmed by bats and register my first death.

The enemy designs are one of Zelda’s smartest features. Most enemies occupy a 16×16 pixel region (Zelda uses the NES’s 8×16 sprite size option), but they exhibit a range of dynamic patterns: the Keese (bats) move in odd diagonals, then slow and pause; the Stalfos (skeletons) move rook-like, attacking more aggressively along vertical lines; and the (hateful, HATEFUL) traps only spring when you cross their vertical or horizontal plane. In combination, they create interesting, emergent attack patterns. Harmful patterns that kill me dead.
I choose to SAVE rather than CONTINUE, which leads me back to the opening overworld screen. Oops. I retrace my path back to the first dungeon and try again. Thankfully, Zelda maintains your inventory store of both overworld and dungeon items. This design perk alleviates much of the drudgery of running through the dungeon again. With full hearts, I continue to Aquamentus. He hits me twice, but I prevail and snag my first heart container piece. Four hearts gives me a much better chance of survival.
Once outside, I decide to head directly to dungeon two. I know the manual has a rough map of its location, but I try to see if I can recall it from memory. I trek north from the bridge, then head east through the desert. I end up in the mountains, facing a swarm of Tektites. Sensing I’ve gone too far, I return west for one screen, then head south. Forest!

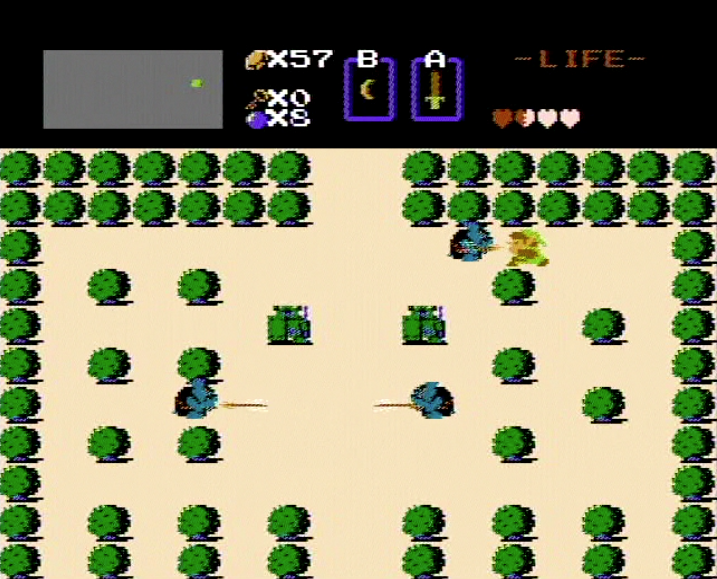
The forests contain multiple narrow, branching pathways stocked with tough, arrow-spewing Molblins. I get lost and rerouted through a series of turns that lead me in a direct circle one screen away from where I’d ran from the Tektites. By the time I reach a new body of water in the northeast region of the overworld, I’m down to a half heart. A mistimed swing at an Octorok ends my second life.
I select SAVE on purpose this time so I can reset back to the starting screen in preparation for Session 2.
STATS
Death count: 2
Triforce count: 1
Session time: 00:15
Total play time: 00:15